Installing stone cladding yourself saves on labour costs. The process requires patience and attention to detail. This guide walks you through DIY stone cladding installation from start to finish
Before You Start
DIY stone cladding suits people with tiling or masonry experience. First-timers should practice on a small area before tackling a full wall. If your project involves structural changes or load-bearing walls, consult a professional.
Tools and Materials
- Stone cladding and corner pieces
- Flexible stone adhesive
- Notched trowel (10mm)
- Spirit level
- Angle grinder with diamond blade
- Safety glasses and dust mask
- Grout and grout bag (optional)
- Stone sealer
Step 1: Prepare the Surface
Your substrate must be clean, dry, and structurally sound. Remove loose paint, dust, and debris. For painted surfaces, roughen with a wire brush. For smooth concrete, apply a bonding agent. Check that the wall supports 60kg per square metre.
Step 2: Plan Your Layout
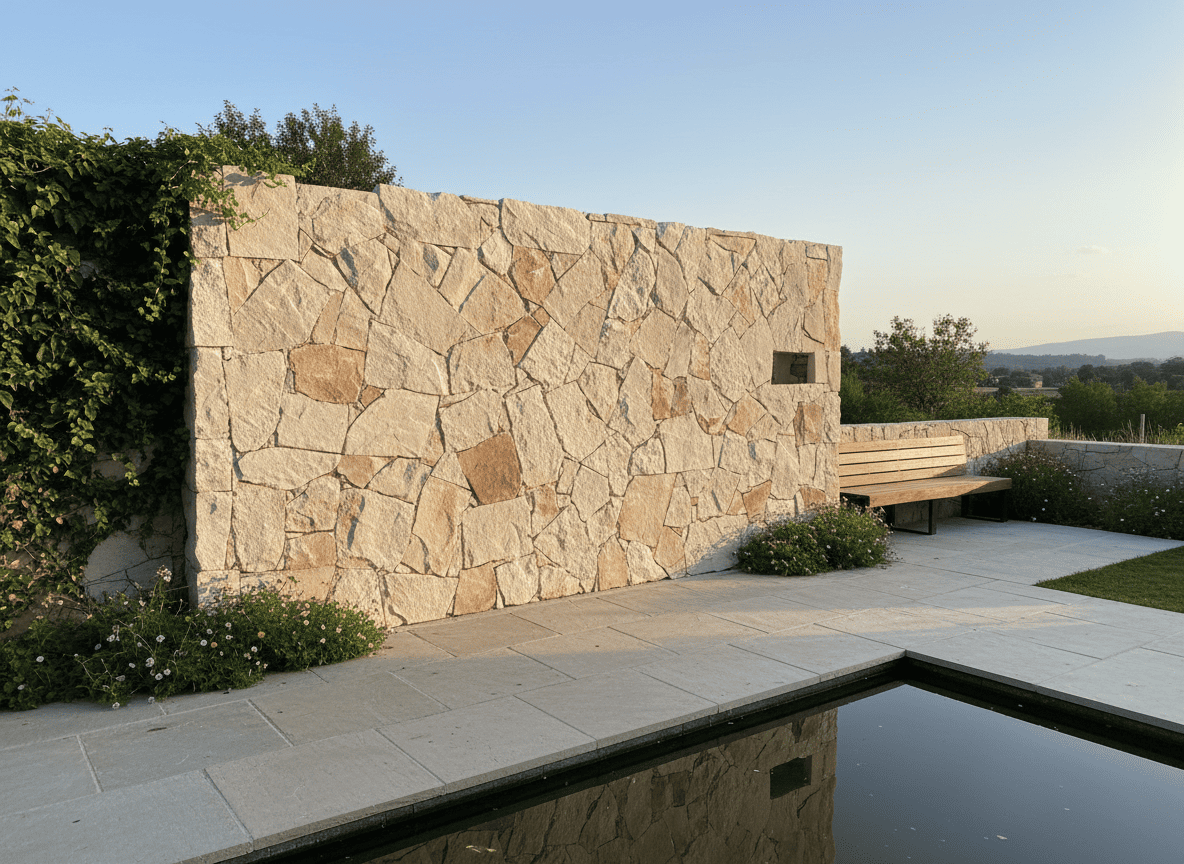
Lay stones on the ground to plan your pattern. For freeform, mix pieces from different boxes to distribute colour variation. For ashlar, stagger vertical joints between courses. Mark your starting point on the wall with a level line.
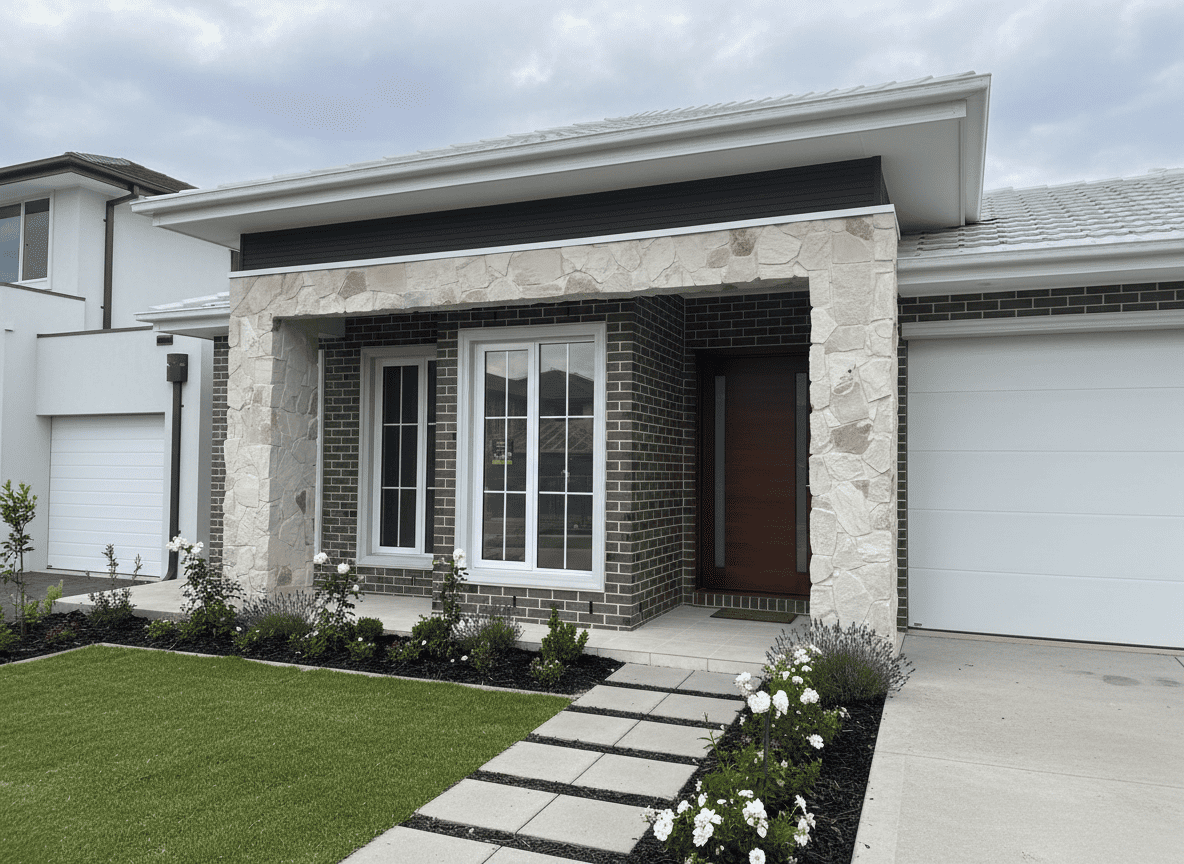
Step 3: Install Corner Pieces First
If you have external corners, install corner pieces before flat pieces. Alternate long and short legs as you work up the corner. This creates an interlocking pattern.
Step 4: Apply Adhesive
Spread adhesive on the wall using the notched trowel. Work in sections of about 0.5 square metres. Also butter the back of each stone. This double application creates a strong bond.
Step 5: Place the Stones
Start at the bottom and work upward. Press each stone firmly into the adhesive. Wiggle slightly to collapse the trowel ridges. Check alignment with your spirit level. Leave 5 to 10mm gaps between pieces for grouting, or butt pieces tight for a dry-stack look.
Step 6: Cut Pieces as Needed
Use the angle grinder with diamond blade to cut stones. Cut outdoors or in a well-ventilated area. Wear safety glasses and a dust mask. Cut from the back of the stone where possible to hide the cut edge.
Step 7: Grout the Joints (Optional)
If you want filled joints, wait 24 hours for the adhesive to cure. Use a grout bag to pipe grout into the joints. Tool the joints with a rounded stick before the grout sets. Brush off excess grout before it hardens.
Step 8: Seal the Stone
Wait 48 to 72 hours after installation. Apply stone sealer according to manufacturer instructions. Sealing protects against staining and makes future cleaning easier. Sandstone benefits most from sealing.
Common Mistakes to Avoid
- Rushing the layout. Plan before you start
- Skipping the butter coat on the back of stones
- Applying too much adhesive at once. Work in small sections
- Forgetting to check level as you go
- Grouting before adhesive has cured